Biker Chad
I have had a lot of readers ask me about this, so I wanted to share what I know. I have to say that each Harley model has different accessories and options on it from the factory. So as you read this article please understand that your bike may have more or less codes than I have listed. Harley-Davidson does print an sell electronic diagnostic manual for each model that will list in greater detail than I can cover in this article, however these are the most commonly used codes that I run into.
You’re on the road far from home when you look down and notice that your check engine light is on. Your first instinct is to pull over and shut the engine down to prevent damage. Now what? Do you risk driving to a dealer in the area? Do you call to have a garage pick up the bike? Eventually we will all have this happen, some of us have been there already.
What if I told you that you could access your bike’s computer right then and there, with no tools, to get a code that would tell you what happened? Do I have your attention now? Here’s how to do it.
1. Turn the “Run/Off” switch on the right side handle bar to the “Run” position. Now make sure the ignition key switch is in the off position.
2. Push and hold the odometer reset button while turning the ignition to the run / on position, then let go of the odometer button.
3. If you did step one and two correctly the speedometer background lights should illuminate, the speedometer needle will travel full sweep (from left to right then rest). The indicator lamps (battery, low fuel, check engine, cruise, etc) should light then go out. The letters “diag” will appear where the odometer numbers are usually displayed. If you left the “Run/Off” switch in the “Off” position the letters “no rsp” (no response) will be displayed.
4. Now push the odometer button once and the letters “PSSPt” will be displayed with the first P flashing. Each of these letters represents a different area of the diagnostic computer. The letter that is flashing is the area you will check, P = ECM (electronic control module) / ICM (ignition control module), S = TSM (turn signal control module) / TSSM (turn signal security module), SP = speedometer, t = tachometer (if your bike does not have a tachometer, the letters “no rsp” will appear when this area is checked). To change which letter flashes push the odometer button once to move from P to S to SP to t and back to P.
5. Make sure you have a pen and paper to write down the codes handy before you complete this step. To check each of the letters to see if there are codes stored in that area of the computer, select the letter by making it blink, then hold the odometer reset button for five seconds and release. If there are any codes stored in that area they will be displayed, if no codes are stored the word “none” will be displayed.
6. After you retrieve the codes, and wrote them down, you may clear the computer by pushing and holding the odometer button while the code is being displayed. The word “clear” will come up. Once the code has been cleared, you can start and run the bike, then shut it off. Repeat steps 1-5 if the same code comes up again it is a current code, not a historic code. A current code means it is not a one-time error, but a reoccurring problem that may need a mechanic’s attention. If the code does not re-appear it was a historic code, meaning the code was a momentary problem.
So now that you know how to get the codes next month I will start to list the codes and what they mean. I know. I know. I hate to do this to you, but I am limited on space. So tune in next month to learn what all those codes mean. Until next time, enjoy the cool spring riding days.
~ Biker Chad, Saddetramp Magazine
skip to main |
skip to sidebar


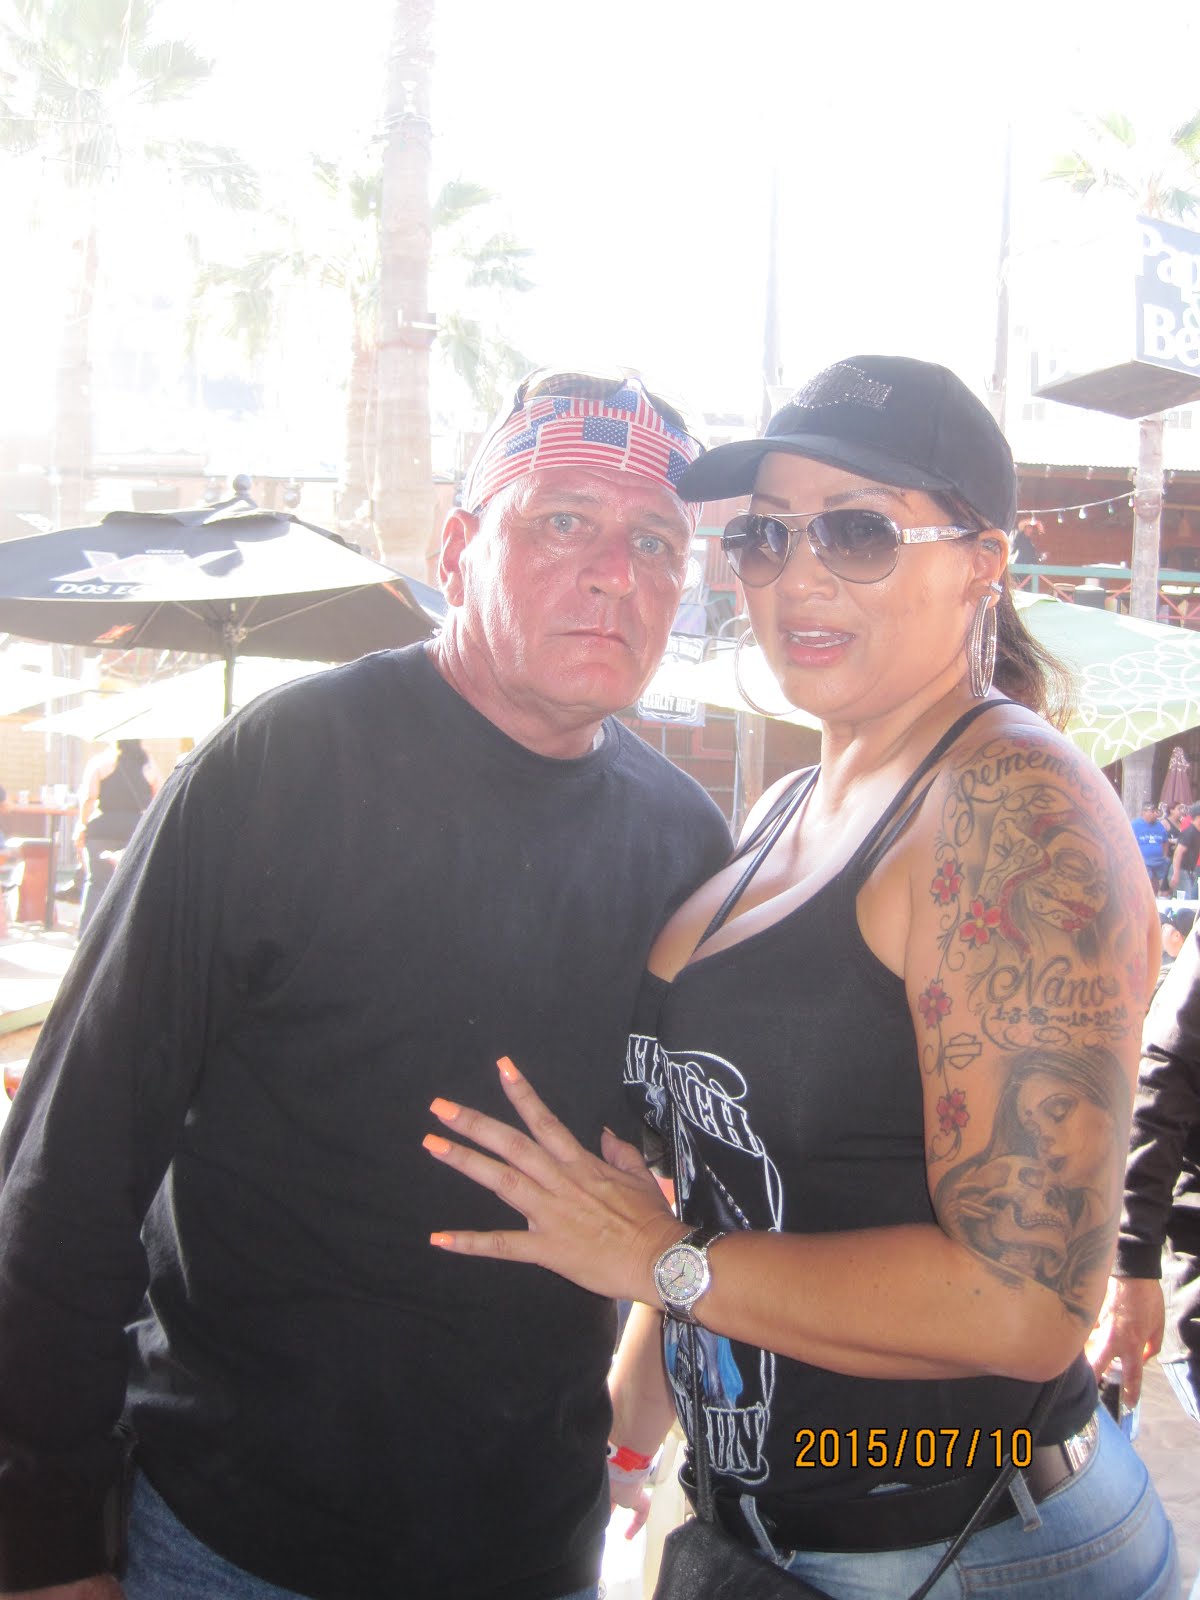
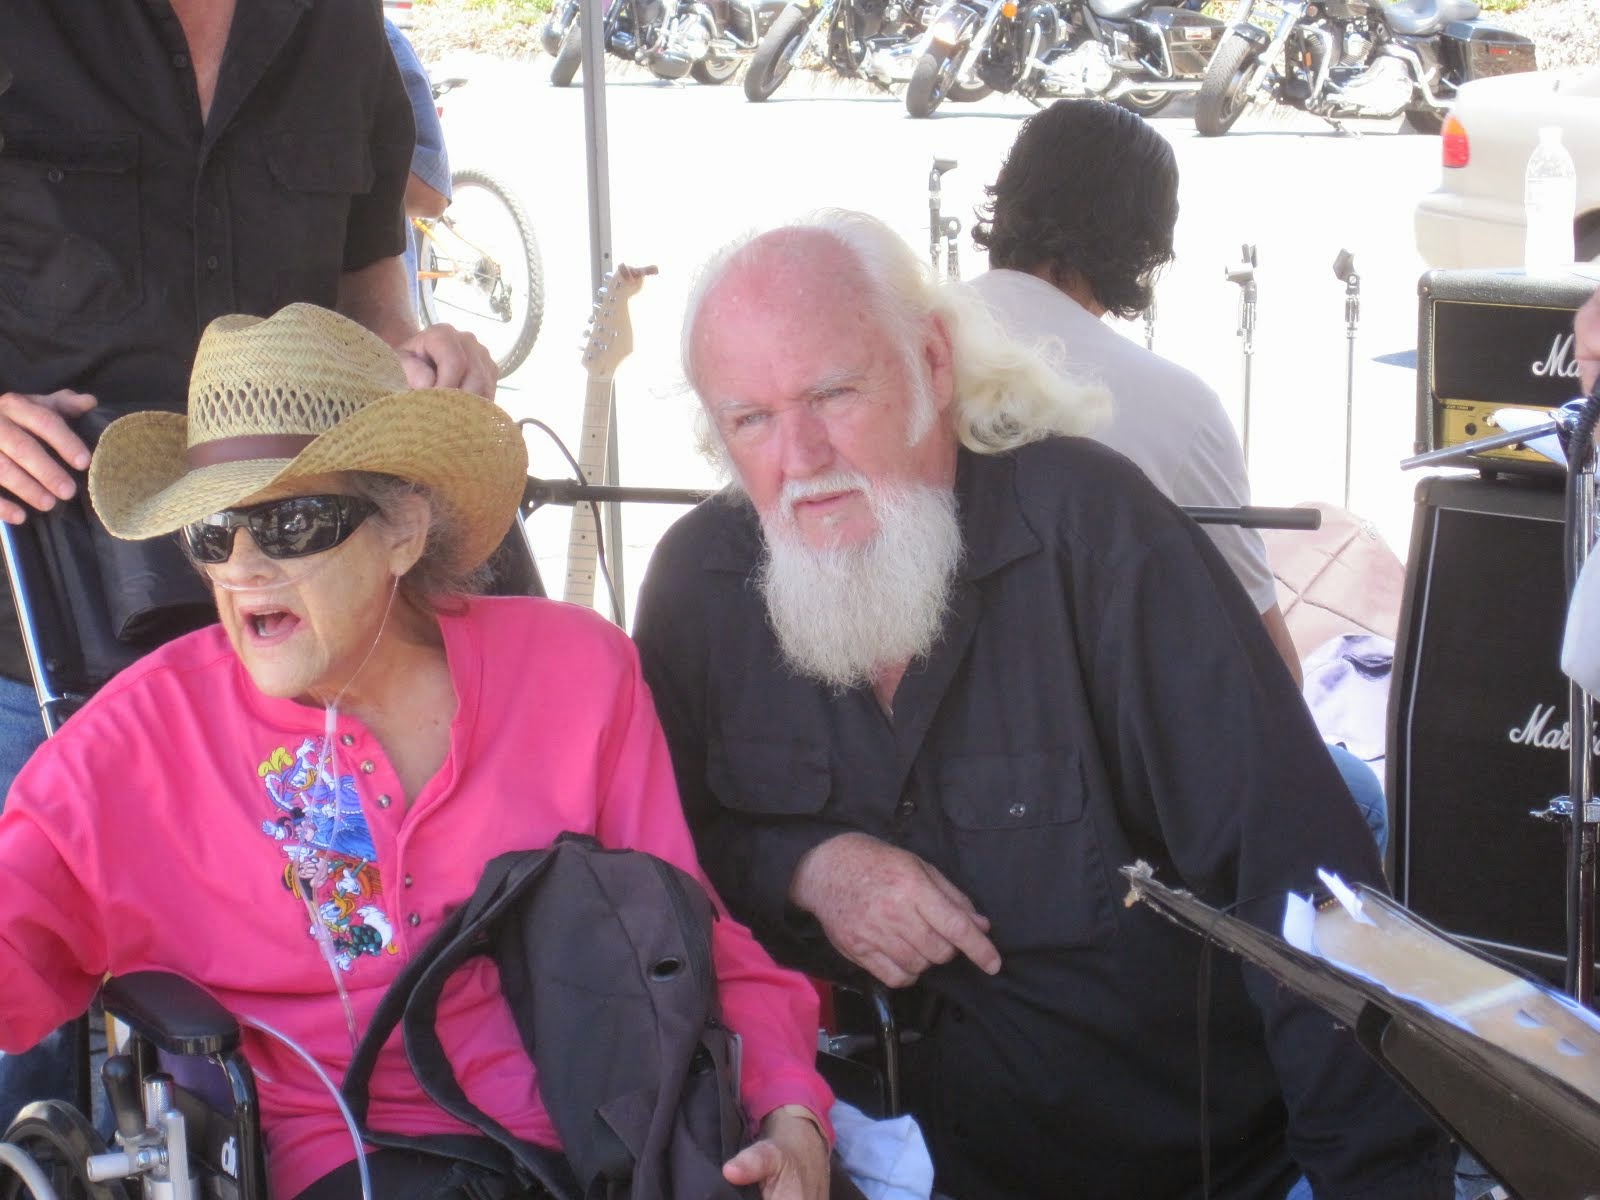
Bill & Annie
Art Hall & Rusty


NUFF SAID.......


OOHRAH

ONCE A MARINE,ALWAYS A MARINE

GIVING BACK
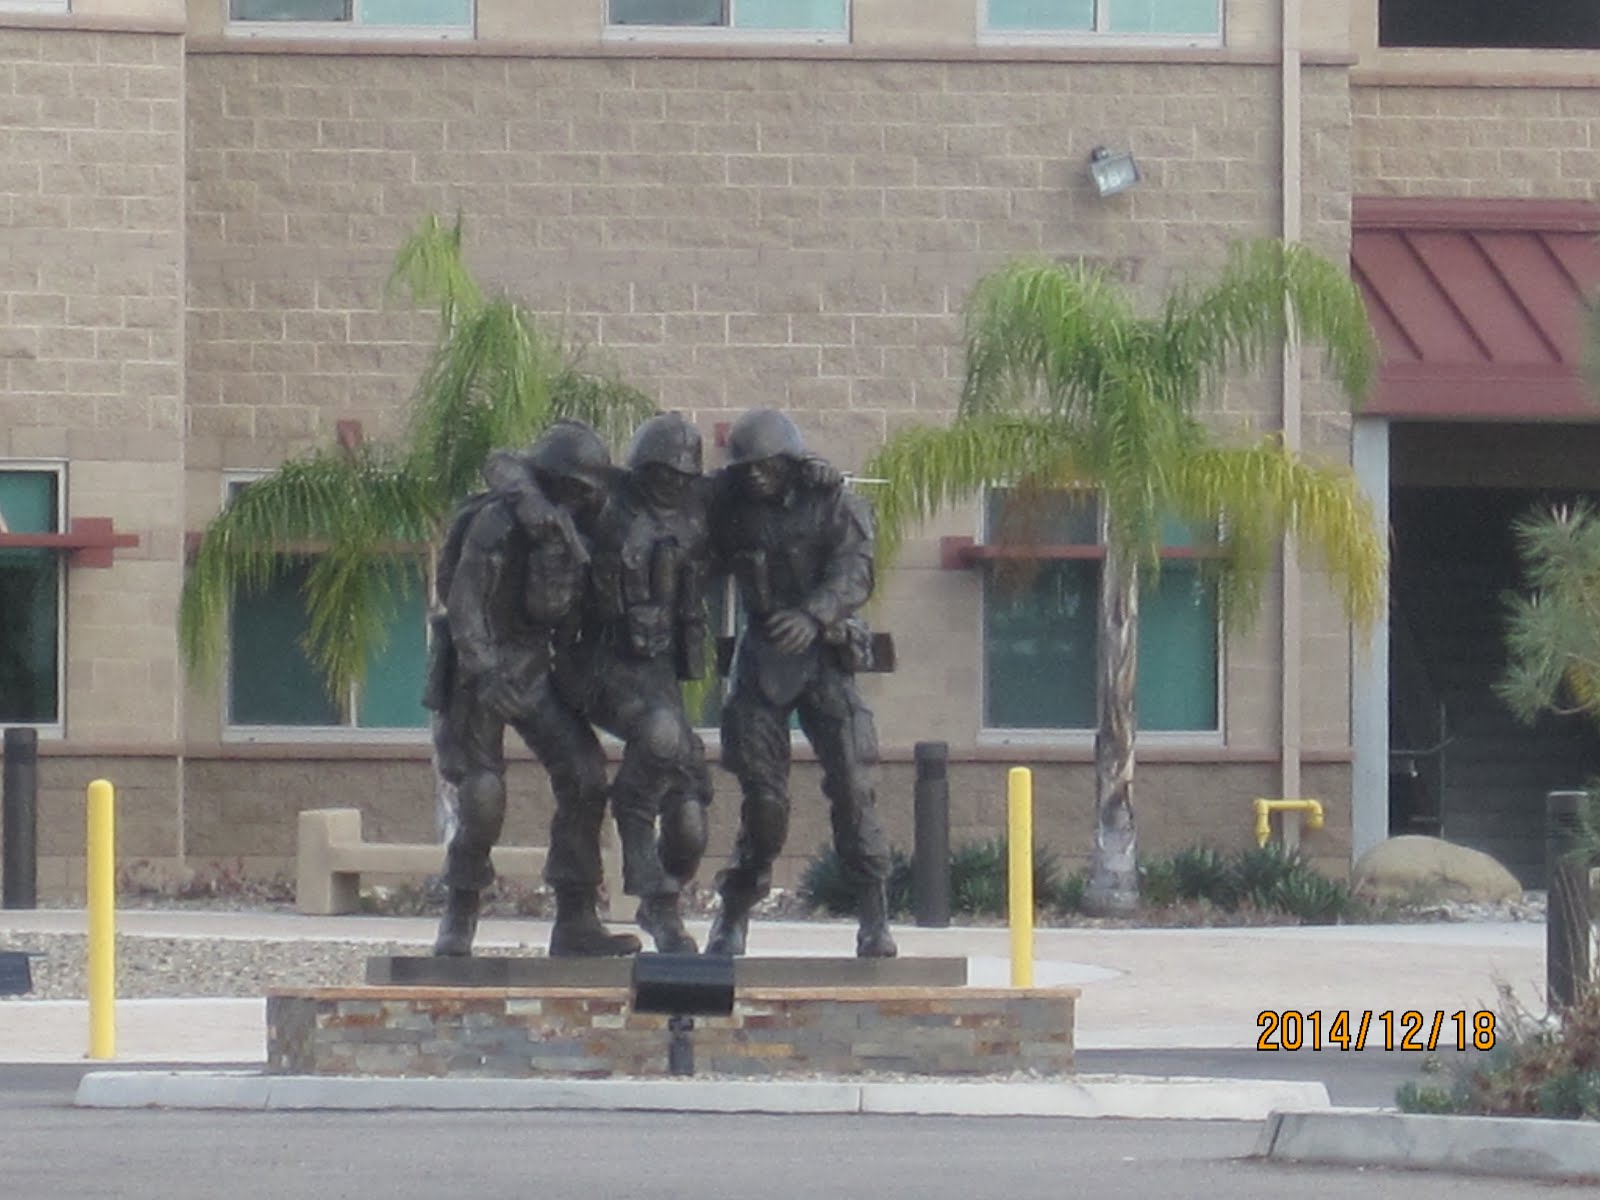
MOUNT SOLEDAD


BIKINI BIKE WASH AT SWEETWATER


FRIENDS


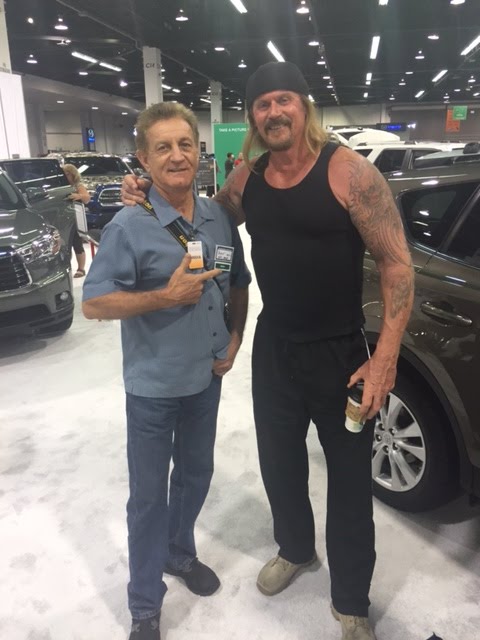
BILL,WILLIE G, PHILIP


GOOD FRIENDS

hanging out
brothers
GOOD FRIENDS

Good Friends
Hanging Out


Bill & Annie
Art Hall & Rusty

Art Hall & Rusty


NUFF SAID.......


NUFF SAID......


Mount Soledad


BALBOA NAVAL HOSPITAL

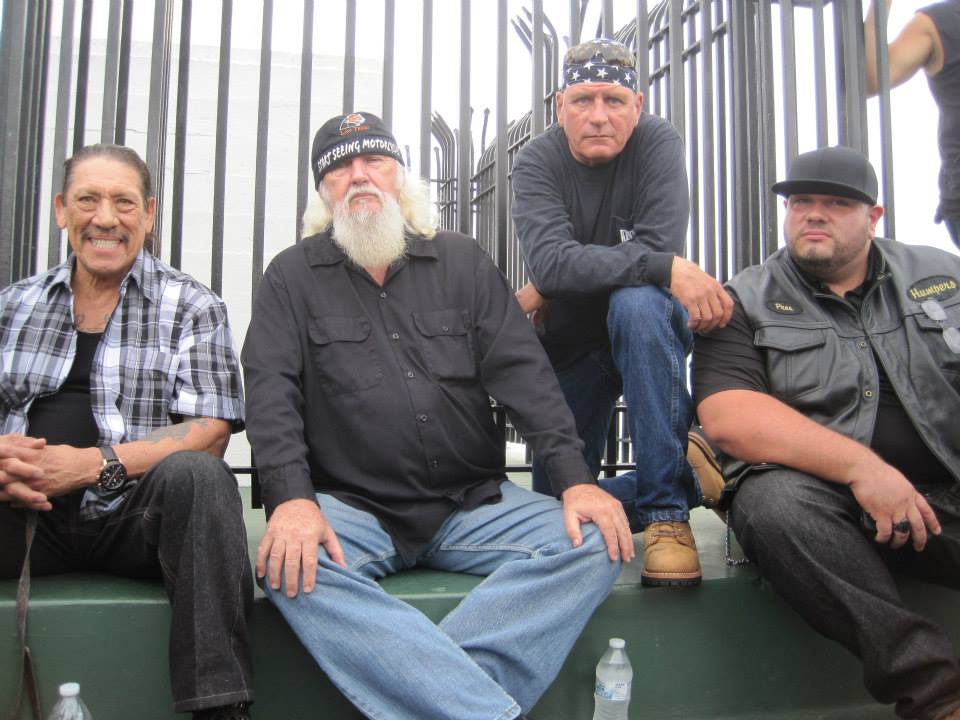
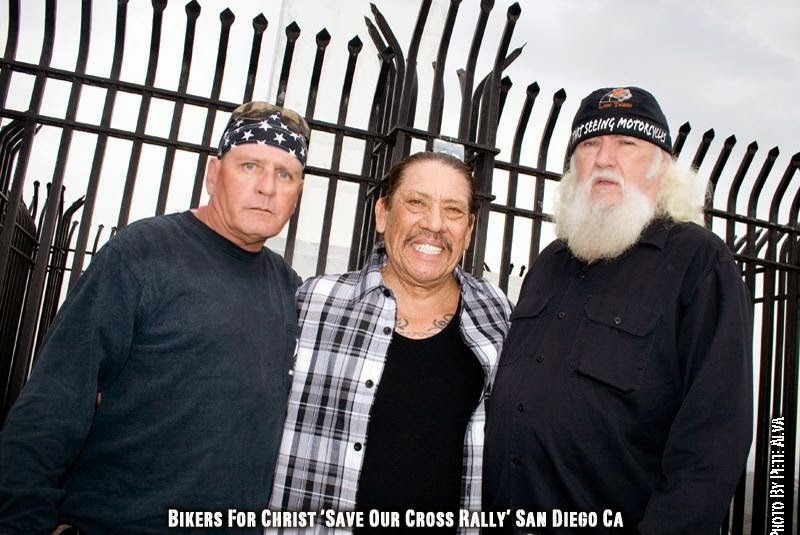
RUSTY DANNY

ANNIE KO PHILIP

PHILIP & ANNIE

OUT & ABOUT

OOHRAH...

OOHRAH
ONCE A MARINE,ALWAYS A MARINE

ONCE A MARINE,ALWAYS A MARINE
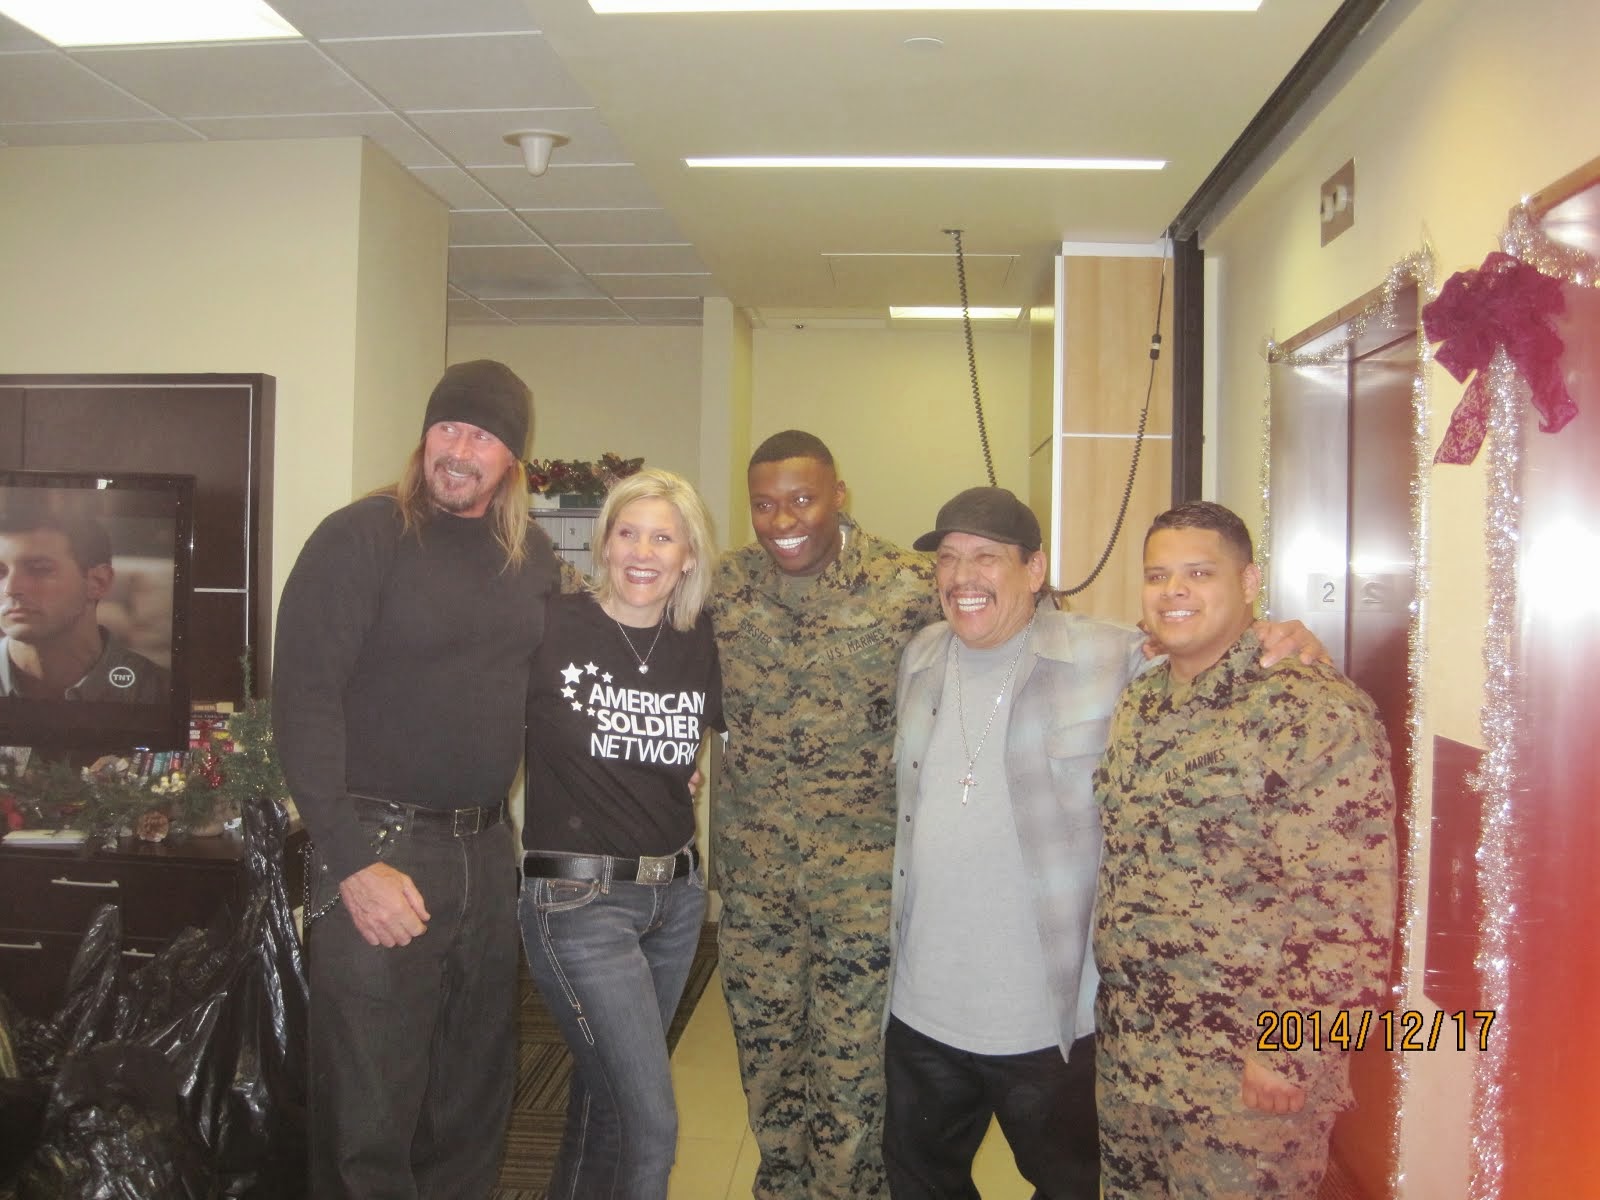
American Soldier Network GIVING BACK

GIVING BACK
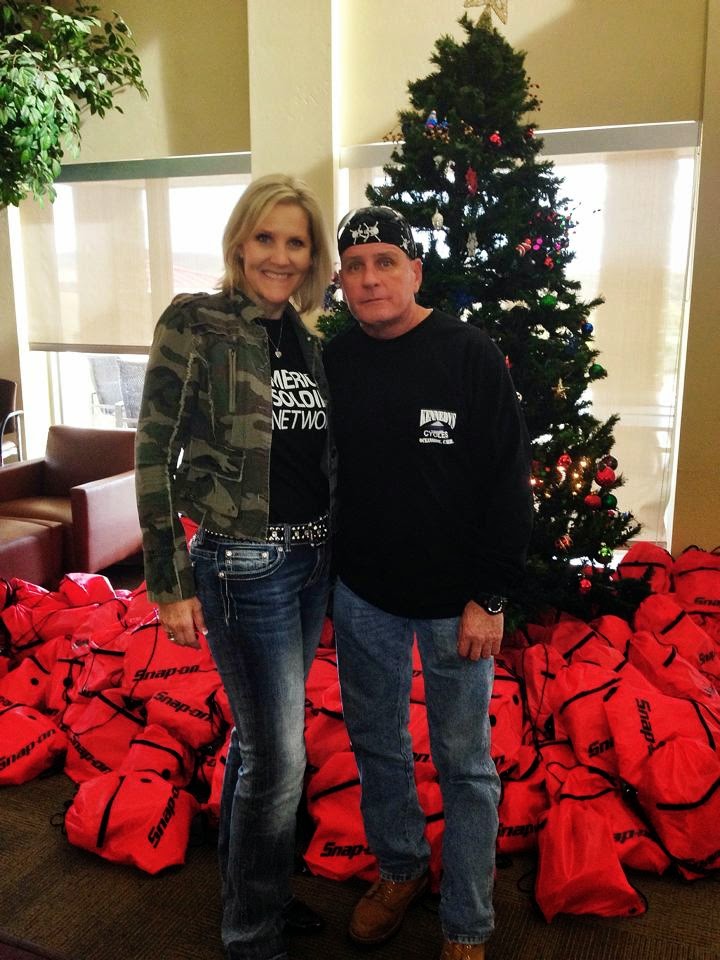
CATHY & BILL

PHILIP & DANNY & BILL

MOUNT SOLEDAD
bills today

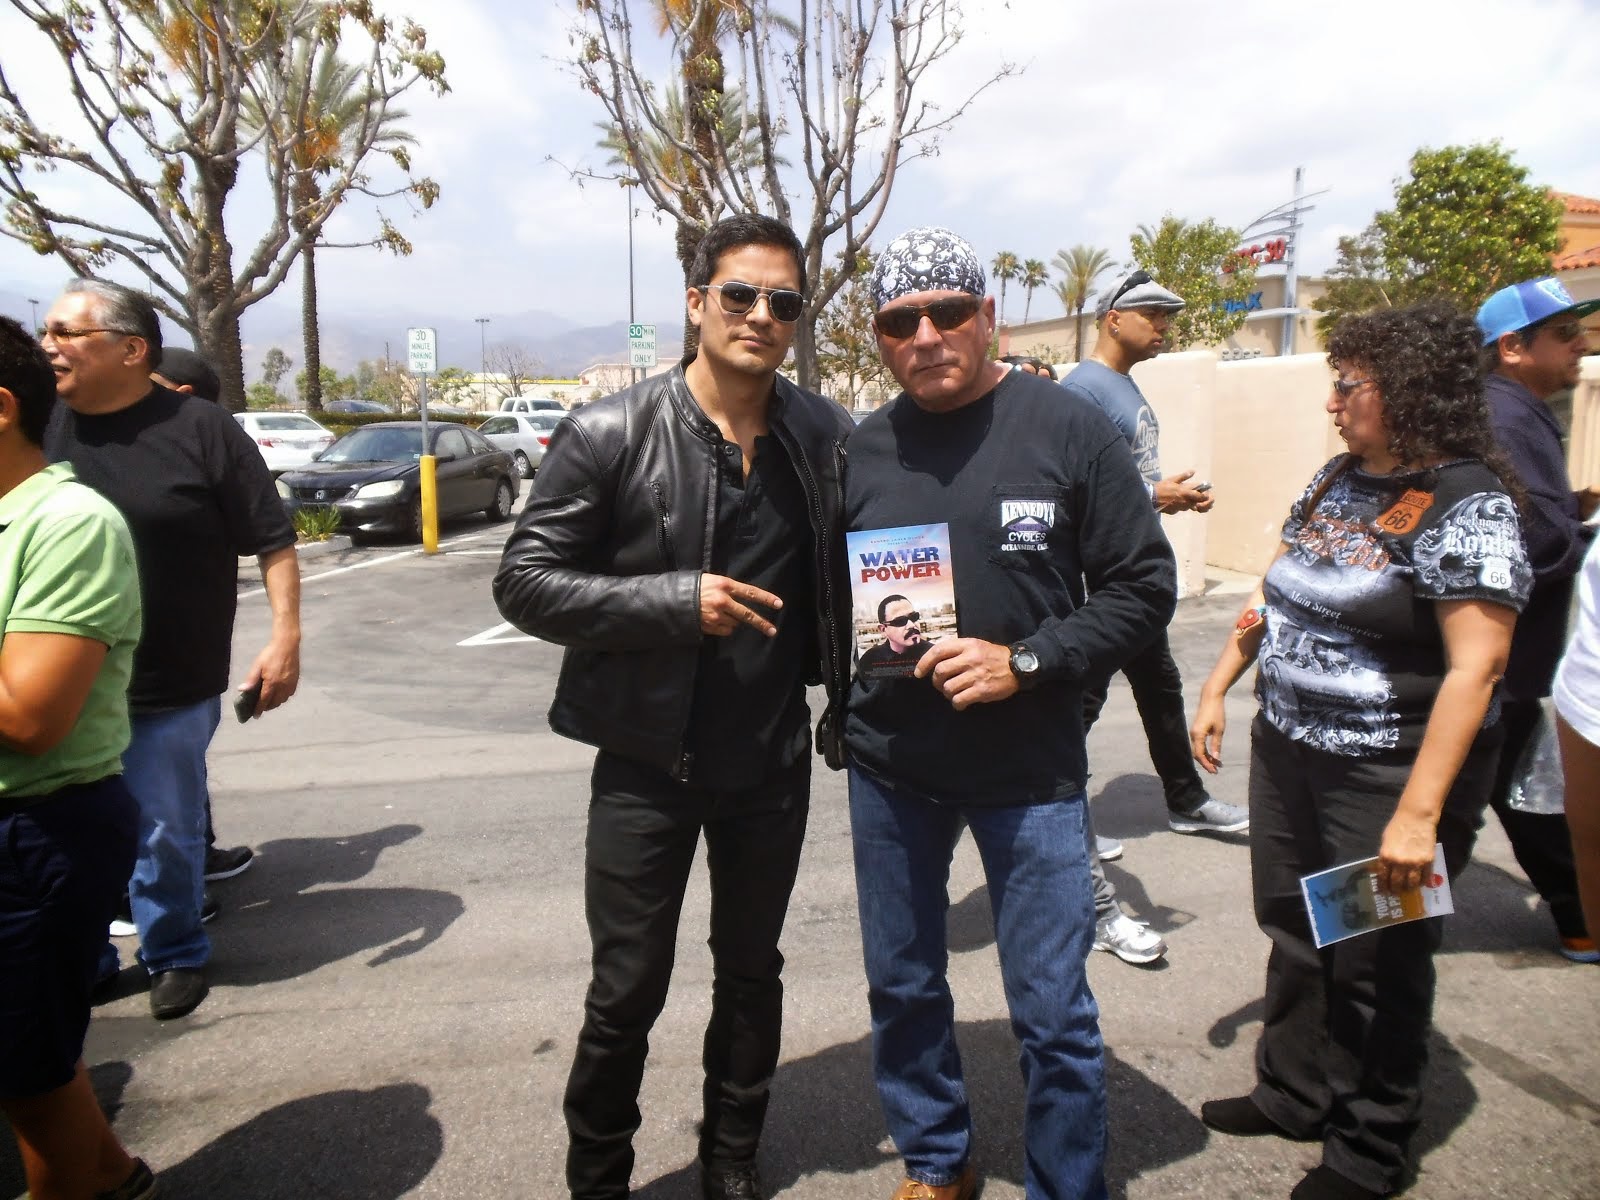
EMILIO & PHILIP

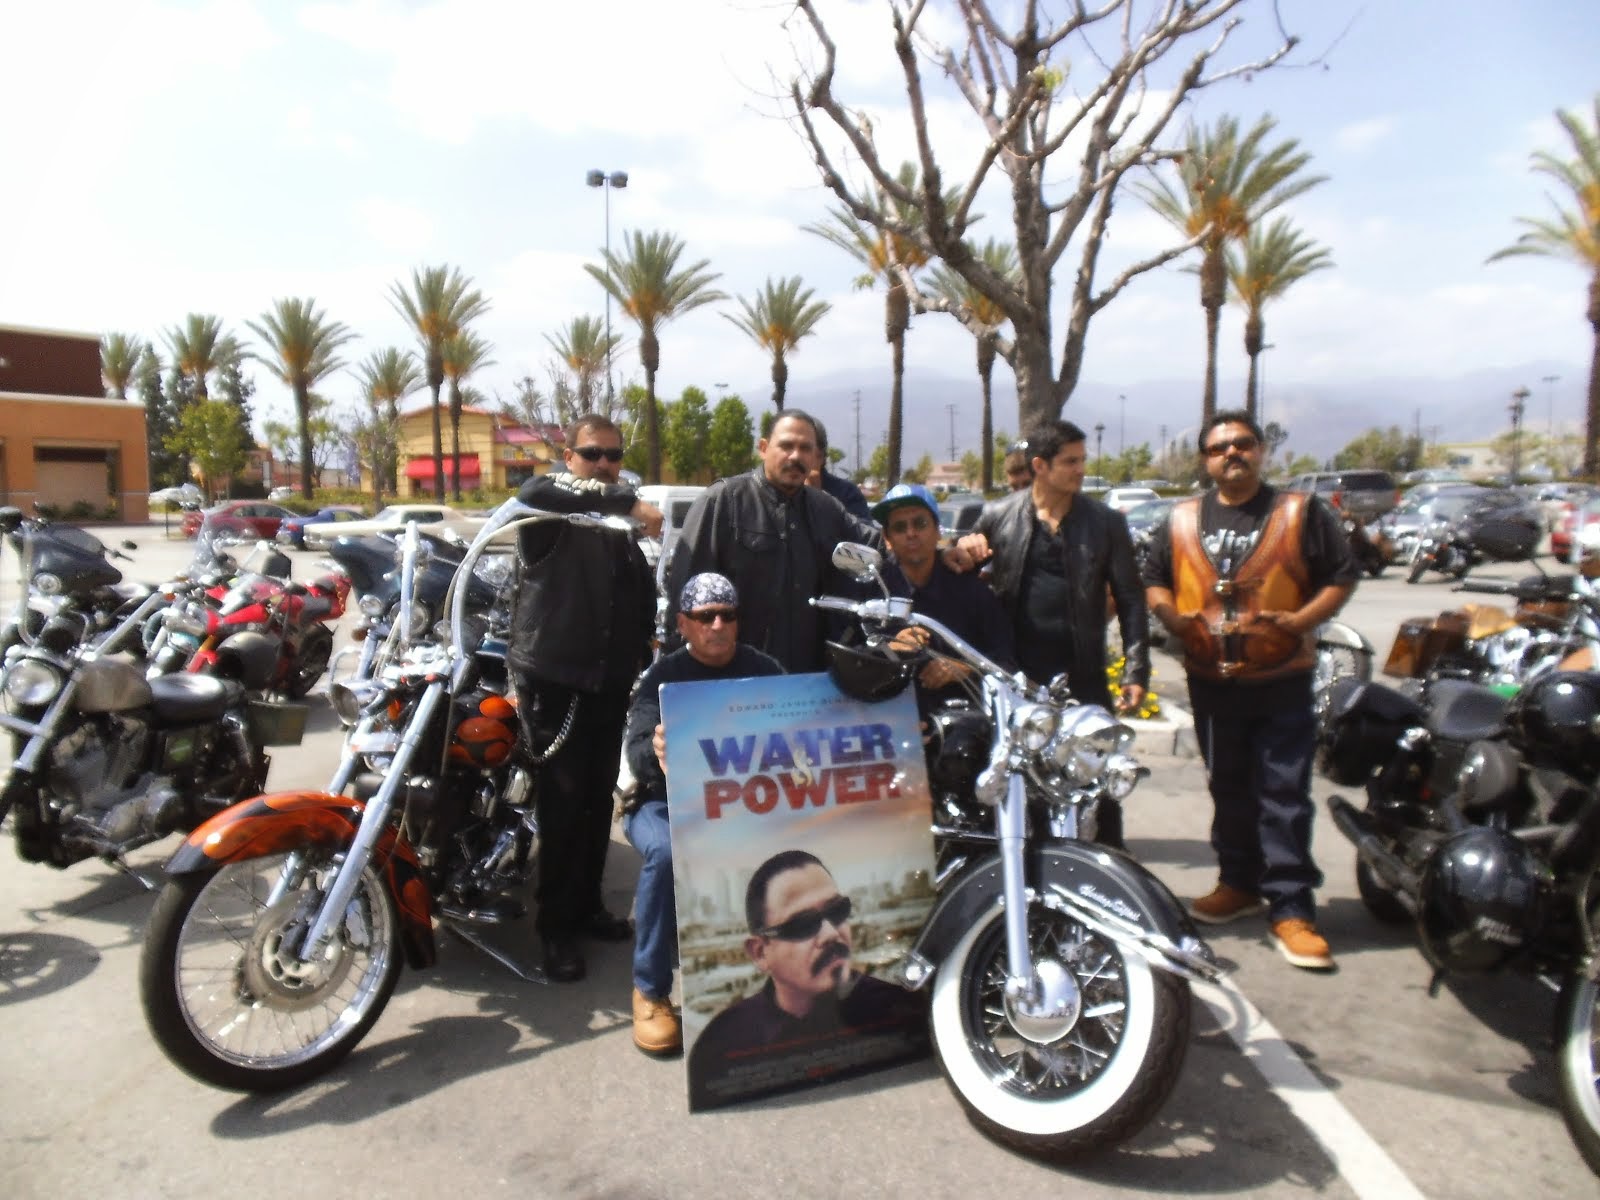
WATER & POWER

WATER & POWER


bootride2013


BIKINI BIKE WASH AT SWEETWATER


ILLUSION OPEN HOUSE

FRIENDS


GOOD FRIENDS


BILL,WILLIE G, PHILIP


GOOD FRIENDS

GOOD FRIENDS
Friends
- http://www.ehlinelaw.com/losangeles-motorcycleaccidentattorneys/
- Scotty westcoast-tbars.com
- Ashby C. Sorensen
- americansoldiernetwork.org
- blogtalkradio.com/hermis-live
- davidlabrava.com
- emiliorivera.com/
- http://kandymankustompaint.com
- http://pipelinept.com/
- http://womenmotorcyclist.com
- http://www.ehlinelaw.com
- https://ammo.com/
- SAN DIEGO CUSTOMS
- www.biggshd.com
- www.bighousecrew.net
- www.bikersinformationguide.com
- www.boltofca.org
- www.boltusa.org
- www.espinozasleather.com
- www.illusionmotorcycles.com
- www.kennedyscollateral.com
- www.kennedyscustomcycles.com
- www.listerinsurance.com
- www.sweetwaterharley.com

Hanging out

hanging out
Good Friends

brothers
GOOD FRIENDS

EMILIO & SCREWDRIVER

GOOD FRIENDS
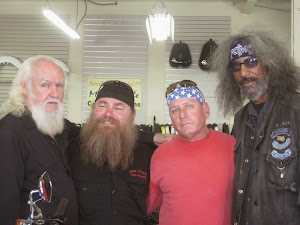
Danny Trejo & Screwdriver

Good Friends
Navigation
Welcome to Bikers of America, Know Your Rights!
“THE BIKERS OF AMERICA, THE PHIL and BILL SHOW”,
A HARDCORE BIKER RIGHTS SHOW THAT HITS LIKE A BORED AND STROKED BIG TWIN!
ON LIVE TUESDAY'S & THURDAY'S AT 6 PM P.S.T.
9 PM E.S.T.
CATCH LIVE AND ARCHIVED SHOWS
FREE OF CHARGE AT...
BlogTalkRadio.com/BikersOfAmerica.
Two ways to listen on Tuesday & Thursday
1. Call in number - (347) 826-7753 ...
Listen live right from your phone!
2. Stream us live on your computer: http://www.blogtalkradio.com/bikersofamerica.
Good Times

Hanging Out

Key Words
- about (3)
- contact (1)
- TENNESSEE AND THUNDER ON THE MOUNTAIN (1)
- thinking (1)
- upcoming shows (2)
Blog Archive
-
▼
2010
(4242)
-
▼
October
(447)
- Police continue to harass citizens who record them
- Two Notorious bikie gang members arrested after ba...
- Australia, Iron bar killer jailed for 11 years
- CHARLESTON, W.Va.Two former Pagans sentenced to pr...
- Mob turncoat is sentenced in NYC to time served
- WASHINGTON DC, Motorcycle Group Supports Military ...
- AUSTRALIA, Bikie gang threat can't be ignored
- Hells Angels to sue McQueen
- Johnston City, Ill. Deputies arrest Outlaws member...
- NEW YORK:Bikers in Halloween Costumes Terrorize Up...
- Hello San Diego Volunteers
- Richmond, Va.Jury to begin deliberations in Outlaw...
- Drug accusations fly in court
- Pagans case: School bus driver who helped discard ...
- A BIKER, brawl in the heart of Bondi has left one...
- Poker run benefits Hillsborough Vietnam memorial
- Outlaws gang trial to resume Friday
- Court documents: Santa Clara cop did favors for He...
- OMCG member charged over two shootings – Petersham
- Massachusetts, Settlement gives bikers refunds
- THE top two leaders of bikie gang Notorious will r...
- Two former Pagans sentenced to probation on drug-r...
- Can ATK Cruisers Help Harley-Davidson?
- It’s A Club! Not A Gang!
- November 4th - 7th 10th Annual Rocky Point Rally.
- What is Compromise?
- Barry & Carol Sandberg Murders,PRESS RELEASE
- Oregon,Charitable Biker Event Incites 'Criminal Pr...
- The Hells Angels motorcycle gang sues Alexander Mc...
- Outlaw Country,
- Quote!!!!!!!!!!!!
- VIRGINIA:Update: Outlaws gang trial to resume Friday
- TENNESSEE:Good Samaritan chases down suspected pur...
- RICHMOND, Va. Biker gang member disputes revenge s...
- PORTLAND, Maine, Outlaws motorcycle gang member p...
- Richmond, Va, No verdict yet in Va. biker gang trial
- Tennessee, Man chases two suspects in N. Knox pur...
- ARIZONA:This Week
- Hells Angels set for rumble on the catwalk
- CALIFORNIA:2011 Iron & Lace Custom Motorcycle Pinu...
- Outlaws Motorcycle Gang Member Pleads Guilty
- Stop Complying and Start Defying
- "INCITY TIMES" PUBLISHER IN MY CROSS HAIRS!!!!
- Boston Cop Pietroski, interesting case
- Texas, Bar owners say patrons were not involved in...
- Southern California Biker Information Guide Newsle...
- MEXICO CITY,Every cop in town quits after Mexico a...
- RICHMOND, Va. Biker Gang Trial Wrapping Up In Va.
- Biker gangmember disputes revenge story
- JACKSONVILLE,FLA, Armed Forces Bike Run set
- UPDATE: Defense rests in federal trial of Outlaws ...
- Insurance companies to reimburse overcharged motor...
- Guns! Prostitution! MURDER! This New Ron Klein Spo...
- ABATE web site & Volunteer for Candidates
- AMA:Election Day is Tuesday, Nov. 2 More Info
- I ended up with a list in two commercial breaks of...
- F.Y.I. GOOD READING
- Gang member testifies he was ordered to get even w...
- Informant at Va. biker trial talks of gang 'war'
- High-ranking Comanchero charged over two strike fo...
- Pratt, Kansas, Not your average outlaw biker gang
- Virginia, Bar-B-Q arsonist must pay $25,600
- Richmond, VA, Ex-biker gang member describes alleg...
- LOS ANGELES, CA, Hells Angels v SaksHells Angels ...
- Texas, Bandidos blamed in fight outside isle bar
- Virginia - Richmond, Gang members testify against ...
- How a nerve poison became "food"
- Hells Angels Sue Saks, McQueen Design, Over Trademark
- Australia, No gun found in bikie headquarters raid
- AZ: Police will use digital cameras mounted on the...
- House Rule, H.R 4646
- AG wants to ban drink that hospitalized CWU students
- Australia, Three men bailed over Centrefold Lounge...
- Australia, Another man arrested over Zervas shooting
- Australia, High-ranking Comanchero charged over tw...
- VENTURA, CA, Hells Angel president sentenced
- Virginia, Informant speaks of 'war' with rival gang
- Former Outlaws testify as trial continues
- Canada,Police tight-lipped over reported prison sc...
- Tinley Park biker lives on through the story of hi...
- Australia, Another man charged following investiga...
- Canada, Police tight-lipped over reported prison s...
- READERS SHARE: CHECK THIS OUT
- Trial underway of Milwaukee motorcycle gang leader
- WISCONSIN, Motorcyclists to rev up for Toys for To...
- MANSFIELD, OHIO, Richland County Health Department...
- OHIO: COUNTY HEALTH DEPARTMENT RECEIVES GRANT
- CA, San Jose audit raps cop-car commuting
- October 30, 2010 "RIDE" to Stop Violence Benefit P...
- Redding, CA, Police get grant for traffic safety
- California, Traffic enforcement focus of grant to ...
- More fuel for the fire? Article in the paper
- Wall Street Journal on Obama
- F.Y.I, CA: 7 classes offered for fall at college
- New Zealand, All quiet as bikers roll into town
- Australia, Bikies not all baddies, says magistrate
- F.Y.I. Check This Out, Know how to tell the differ...
- NHTSA and Motorcycle Only Checkpoints
- Robbery Ring Disguised as Drug Raids Nets Convicti...
- Australia, Biker`s wanted over strip club fight
-
▼
October
(447)
Bikers of America, Know Your Rights!... Brought to you by Phil and Bill
Philip, a.k.a Screwdriver, is a proud member of Bikers of Lesser Tolerance, and the Left Coast Rep
of B.A.D (Bikers Against Discrimination) along with Bill is a biker rights activist and also a B.A.D Rep, as well, owner of Kennedy's Custom Cycles